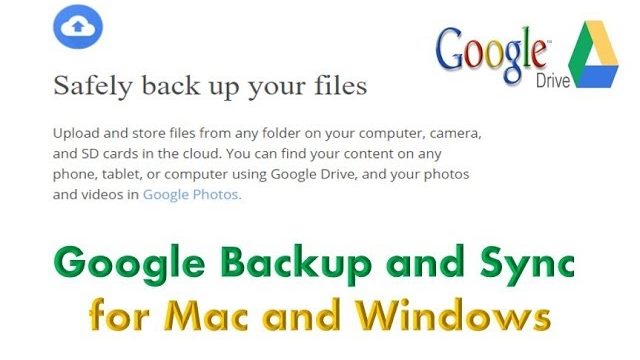
Google recently launched new Backup and Sync tool for Windows and Mac. It is easy for users to backup and sync their all files to Google Drive so they can be accessed anytime from any devices.
The Backup and Sync tool is updated version of Google Drive and Google Photos apps. This new app also enable you to upload and store files from any folder on your computer, camera, and SD cards in the cloud. So, you can find your content on any phone, tablet, or computer using Google Drive, and your photos and videos in Google Photos.
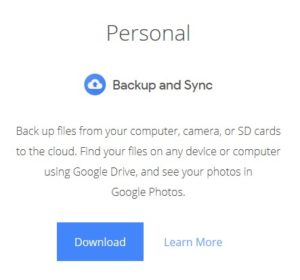
You can download the official Google Backup & Sync tool from here. and please follow the below instruction to install it on your computer.
- Click on download button to download.
- Read the term and services and click agree and download.
- After it’s downloaded, open installbackupandsync.exe
- If you see a window asking if you want to allow the program to make changes on your computer, click Yes.
- If you’re asked to restart your computer, do it now.
- Start Backup and Sync.
- Sign in with your Google Account username and password.
- Choose your sync settings and click Next.
Once application is installed, an icon appears in your Taskbar Notification Area or menu bar. you will find 3 vertical dot on top right side to open the complete configuration menu.
Now, you can click the pause option to temporarily pause sync, plus access the app’s preferences. Here you have three tabs: My Laptop is where you connect folders from your PC to your Google Drive storage for continuous backup protection, plus configure photo and video uploading. (if you are using the “High Quality” option for photos and videos, you can backup your photos and videos with unlimited storage. And, you also have to option to save the original image depending on available space on google cloud).
Google Backup & Sync tool usually work to sync your files and folders from your computer to Google drive, if you delete it from your computer or google drive. it will also delete it from other sync location. this option is configurable now on removing items tab. the best practices is to choose “Don’t remove items everywhere“.
Now, If you go for second option Google Drive to switch between syncing everything online with your computer or just your choice of folders.
Finally, You can configure some settings to auto-start Backup and Sync with your computer, plus access Network Settings.
Hope you like this content, if you like it you can write to me check it more technical content.


